

Learn how to install the LTTR/INK plugin for Glyphs in this step-by-step tutorial
Install via the plugin manager
💡We strongly recommend installing LTTR/INK with the Glyphs plugin manager. This allows you to install new updates automatically without hassle. If you've previously installed the plugin manually, remove it from the script directory.
1. Open Glyphs plugin manager window Window/Plugin Manager
2. Search for LTTR/INK
3. Click the green button Install, and wait until the installation is complete
4. Restart the Glyphs app
5. Done 🥳
Now you can enjoy the plugin
Install manually
1. Download the plugin using the link you receive in an email – you can request a new link here. You will see a distinctive LTTR/INK icon.

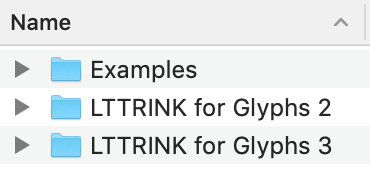
2. Click on it and open "LTTRINK for Glyphs 3" or "LTTRINK for Glyphs 4", depending on the version of Glyphs you are using.
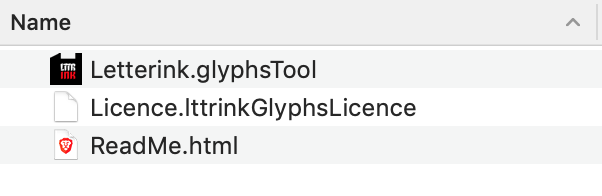
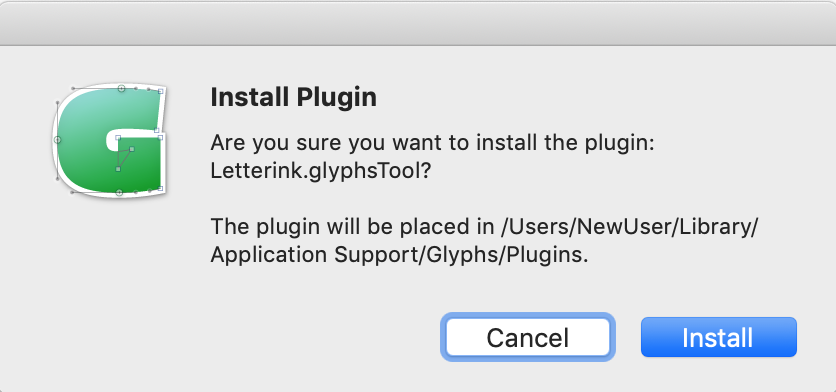
3. Click on the plugin file and confirm the installation – "Letterink.glyphsTool" for Glyphs 3, "LTTRINK.glyphsTool" for Glyphs 4.
4. Restart Glyphs.
Next: Activate Licence →


