In this tutorial, you’ll learn how to draw the very fundamental style of Latin calligraphy—blackletter. We focus on Textura Quadrata style. Textura, considered to be a foundational form of Blackletter, is a big family of scripts, there are Textura Quadrata, Textura Semi-Quadrata, Textura Prescissa.
Preparation
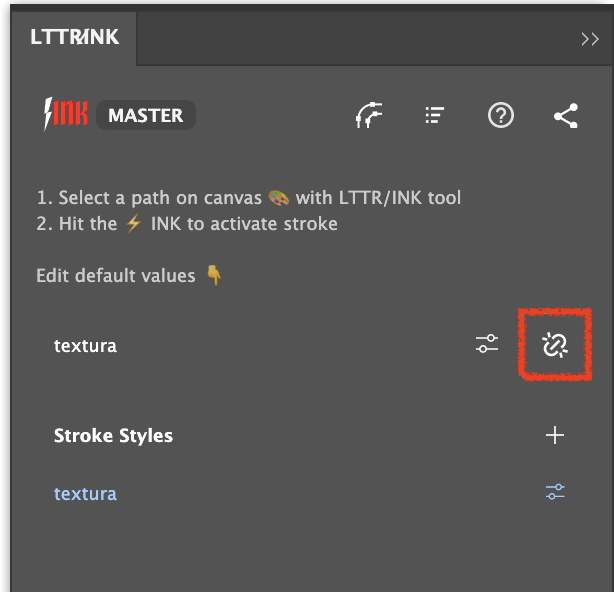
Install and get familiar with the LTTR/INK plugin following our other tutorials.
- Install LTTR/INK for Adobe Illustrator on Adobe Exchange
- Basic overivew of LTTR/INK for Adobe Illustrator
- Install LTTR/INK for Glyphs on the Glyphs plugin Manager
- Basic overview of LTTR/INK for Glyphs
- Become familiar with blackletter background and origins
💡If you want to practice writing before drawing blackletter digitally, Paul Antonio’s “PAScribe Geometric Textualis Quadrata” is a good starting point; it has fewer stroke variables and makes understanding other blackletter scripts so much easier; we recommend you take a look at the YouTube video.
We use pixels for the document unit in this tutorial. Find the dropdown menu for units in the new document dialogue box, it is on the right side if you’re using Adobe Illustrator 2024, select Pixels from the list.
Set up the grid
🦄 Download the grid document of this tutorial here.
1. There are four major lines in the grid: baseline, x-height, ascender and descender.
2. In blackletter writing, the width of the nib measures the x-height.
3. Different historical scripts come in various sizes. Normally, display letters range from 3 nibs to 6 nibs, but they can go up to 12 nibs. The grid should be drawn according to the script you have chosen.
4. For the lettering work in this tutorial, the Textura script family is used as a model for reference.
5. Set the angle to 40º, width to 60px, and thickness to 0px for some sharpness. You can create a stroke style for future use. (The settings here is a personal choice; 45º is a more common angle for this script)

The settings here is a personal choice; 45 is a more common angle for this script
6. Draw a baseline, then draw a line for x-height at 4.5 nib width high, which is 270px.
7. Leave 2 nib width space for the ascender and descender.
💡Draw a vertical stroke across the x-height and a horizontal line where the nodes are when the top and bottom corners of the stroke touch the grid. This way, you can snap the nodes onto this line instead of tweaking them constantly.
8. Don’t forget to leave some space in between lines, just in case your letters fight with each other.
9. Group the grids and copy-paste across the canvas and leave it locked in a bottom layer, then create a new layer for letters.

Don’t forget to leave some space in between lines, just in case your letters fight with each other.
Group the grids and copy-paste across the canvas and leave it locked in a bottom layer, then create a new layer for letters.

Draw letters
In this tutorial, we focus on the Textura Quadrata style. Textura, considered to be a foundational form of Blackletter, is a big family of scripts, there are Textura Quadrata, Textura Semi-Quadrata, Textura Prescissa, etc. Textura Quadrata by its nature is composable, many strokes of it can be reused to create other letters, making the style easy to grasp. Later you can develop more robust styles on top of this foundation.
Basic strokes

The basic strokes are quadrant, lozenge and vertical stroke.
Simply draw the skeletons using the pen tool, then activate the strokes using LTTRINK. As the default settings are already set, you should see a geometric r immediately.
⚡ In this tutorial, a shorter quadrant is used as a personal choice.
Start with i and n
Start with i, compose i using one vertical stroke and two quadrants on top and bottom.

Then n can be composed by adding a lozenge, or a quadrant with a thin line. Leave one nib width 60px for the distance between two vertical strokes.

Completing alphabet
If you have learned about PAScribe’s Textualis Quadrata, to compose other letters now you can try to use the letter groups he has taught. Pick the easier ones to start with, i.e., the ones that do not require drawing extra strokes.
i, n, m, u, v, wr, j, y, t, l, ho, a, p, q, gc, e, b, df, k, x, z, s
In this tutorial we are writing “So let it be written, so let it be done”. So draw the letters s, o, l, e, t, i, b, w, r, d and , then later arrange the letters into a piece of text.

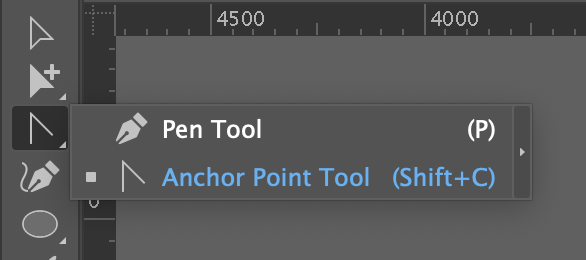
You can use the Anchor Point Tool shift + c to curve some strokes.

Ligatures
Some adjacent letters can be joined, where it does not cause confusion, by touching or overlapping certain strokes.

Alternates
- Take
ras an example, instead of a geometric one, we will try to put a curvyrin this work to add some fun to it. - LTTR/INK was designed to give flesh to the skeleton of letters. So draw the skeleton using the pen tool, and apply the LTTR/INK stroke style to it. The skeleton can be straight lines (to be curved later) or drawn as curved.
- Use the Anchor Point Tool to refine the letter.
- At the bottom of the vertical stroke in this
r, detach the node from the stroke style, and change the angle to receive a smoother joining to the bottom stroke.

Capitals
Try drawing capital S and O following the same process.

Layout
Try to build a basic layout of your work using the letters you have drawn.

Replace the alternate letters from the basic layout, work on it a little bit more, move things around, add some colour to it, and voilà, the work is done.

Learn how to draw the very fundamental style of Latin calligraphy—blackletter. We are introducing typical styles and their stroke shapes using Adobe Illustrator and LTTR/INK.
This tutorial demonstrates how to draw with LTTR/INK in Adobe Illustrator. However, we encourage you to use LTTR/INK for Glyphs as well—it is not so different.


