谁可以使用此功能
✔ ︎ 文字绘写师 授权用户可以组合笔触和轮廓。
✔ ︎ 字体设计师 授权用户可以组合笔触和轮廓。
骨架字体设计师可能会遇到轮廓形状更好的情况。是的,尽管骨架造字的魔法强大,但也有一些形状是没有骨架的 无脊椎动物 所谓的物种 软体动物。
例如,衬线、墨水陷阱和斑点,以及你计划在字体中使用的其他花哨的东西。
在这种情况下,你需要组合 笔画 和轮廓。
步骤
1。在 Glyphs 中创建部件。
如果你不知道,请关注 任意glyphs教程 关于复用形状的教程。
2。关闭部件的笔画功能
如果你为所有字形开启了笔触,请关闭该组件的笔触。
3.绘制部件
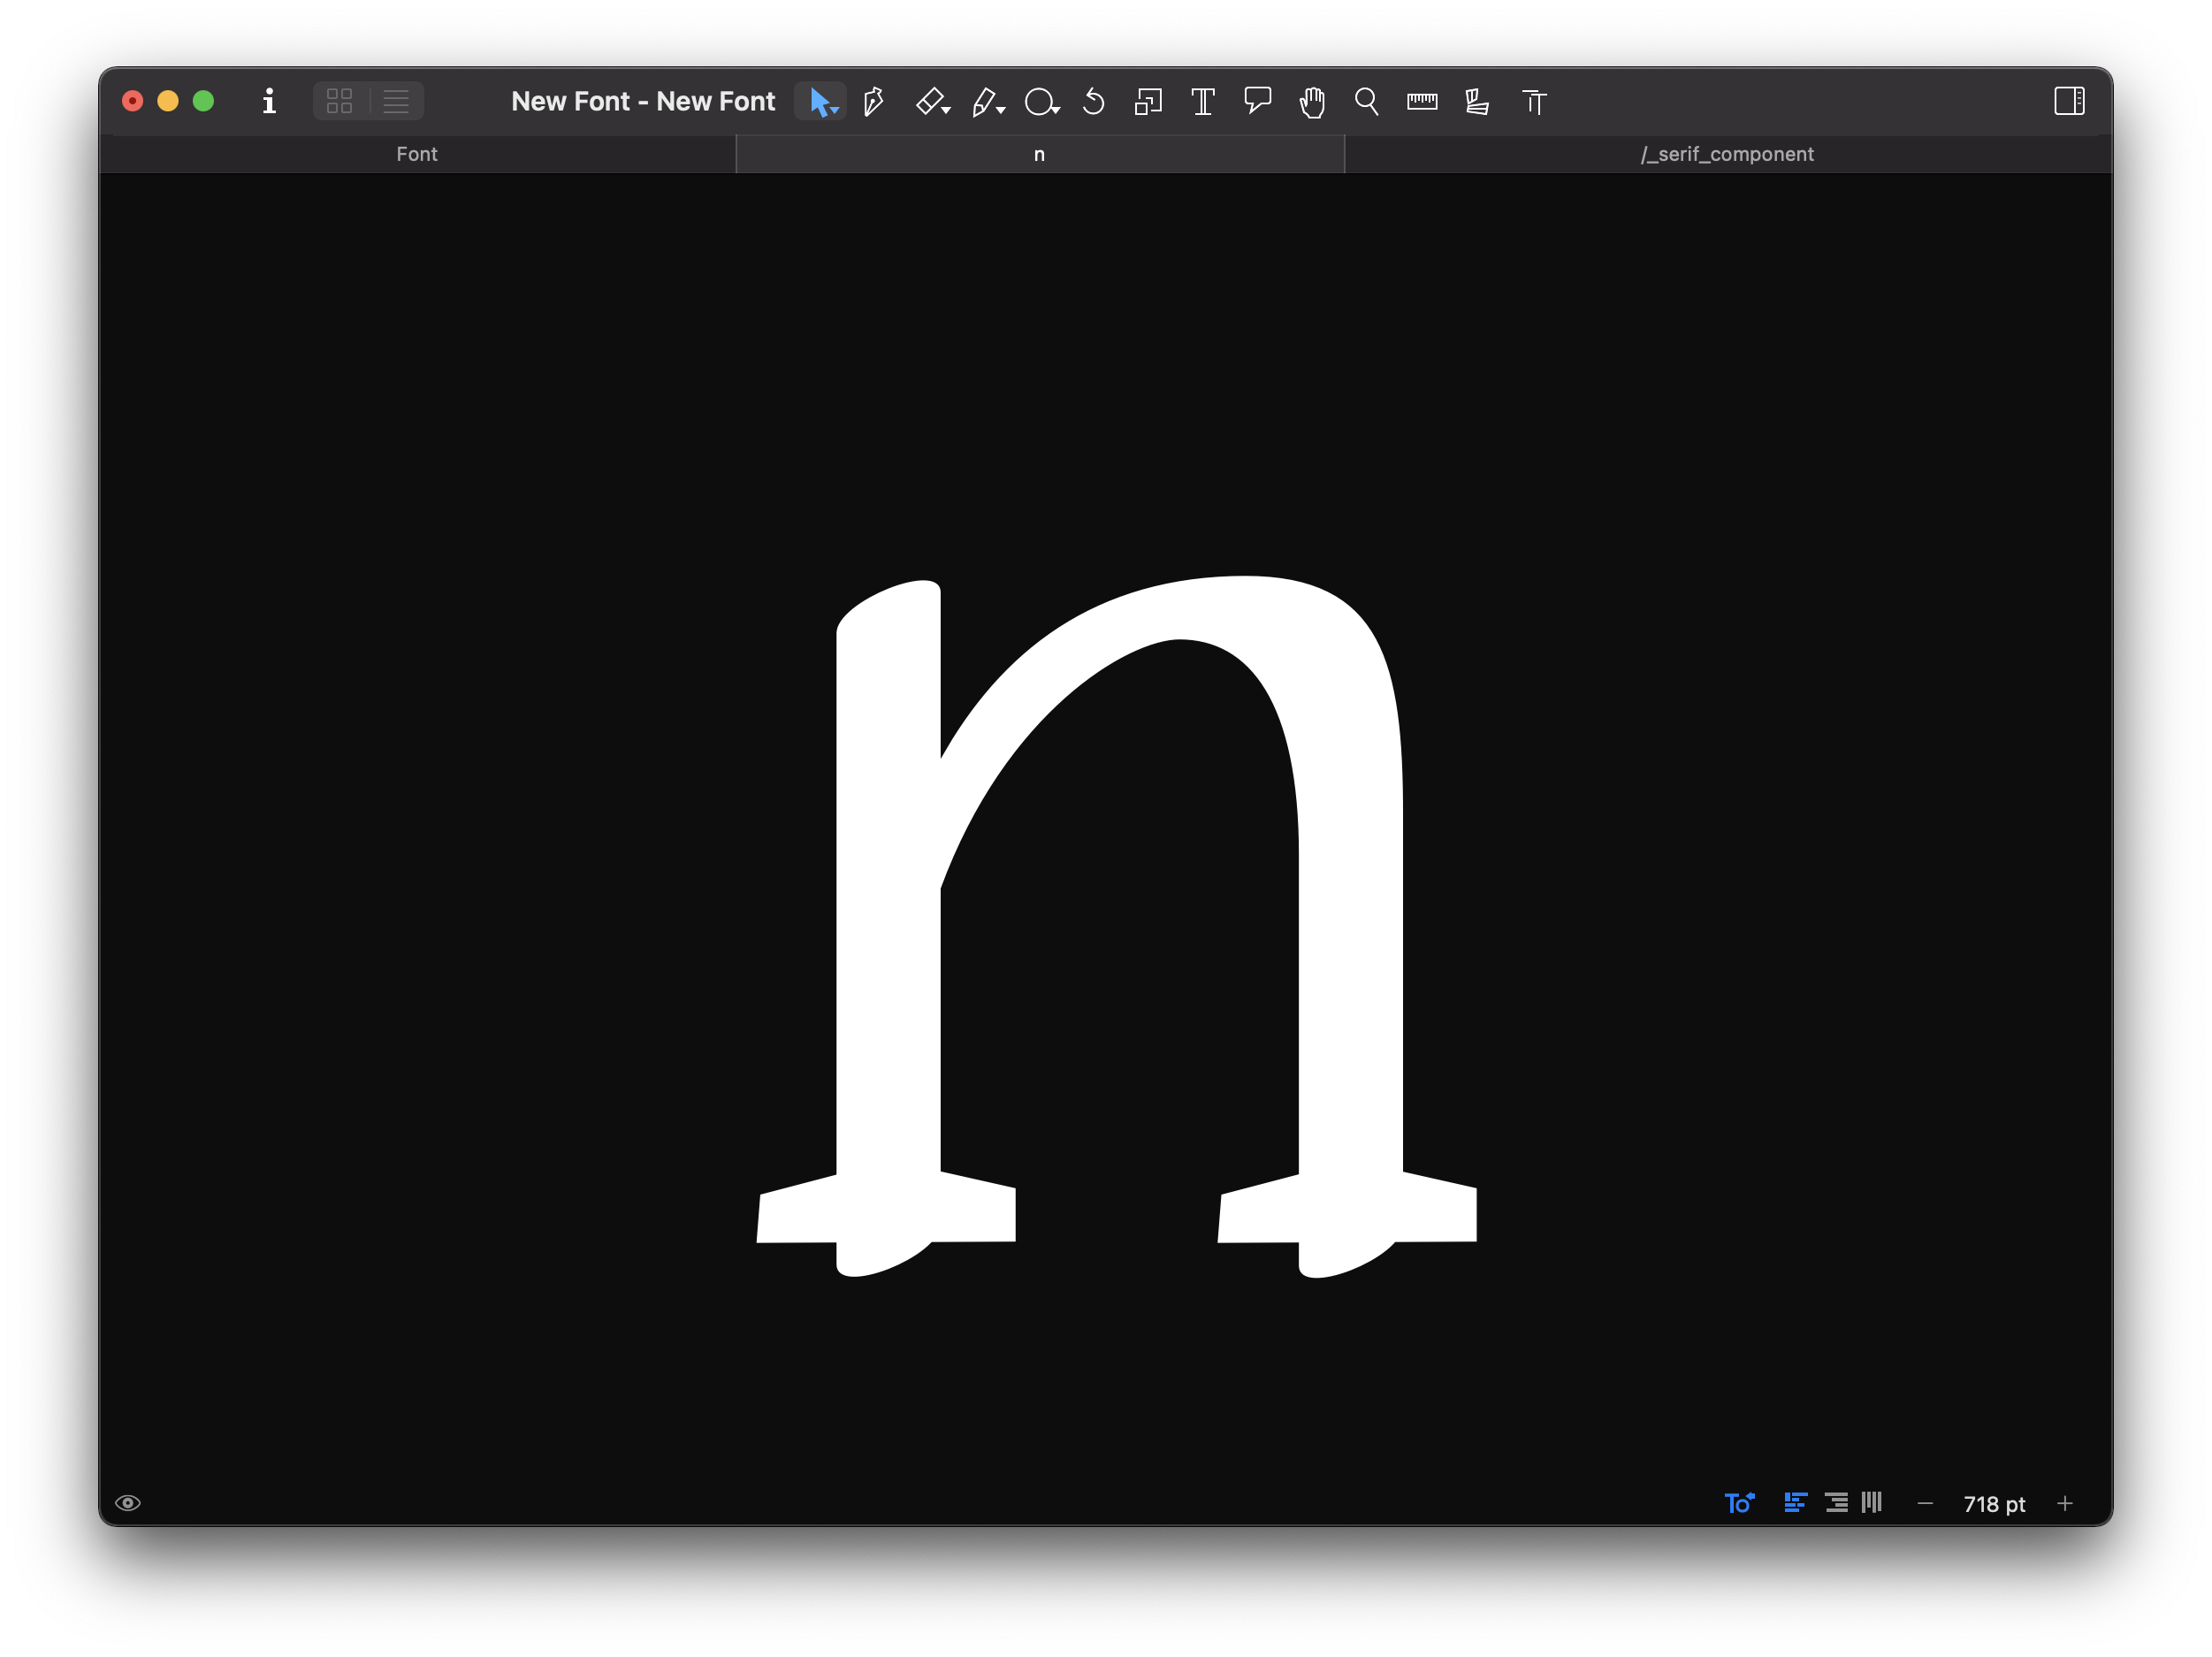
在我们的例子中,它是垂直词干的衬线。

4。在笔画中插入组件。
按 Command + Shift + C 显示 “插入组件” 窗格。
导航并选择 “大纲组件”。
将轮廓组件放入描边的字母中。
5 调整位置
如你所见,这个位置并不完美。所以我们把它放在第一根茎末尾的正确位置。
然后复制该组件并将其放在第二个词干的末尾。
在我们的例子中,笔画的字干超过了基线。因此,我们正在缩短它们。
调整部件形状
现在,我们可以编辑部件形状以更精确地适应设计。
双击该组件以编辑模式将其打开。
随心所欲编辑